

Included in the box

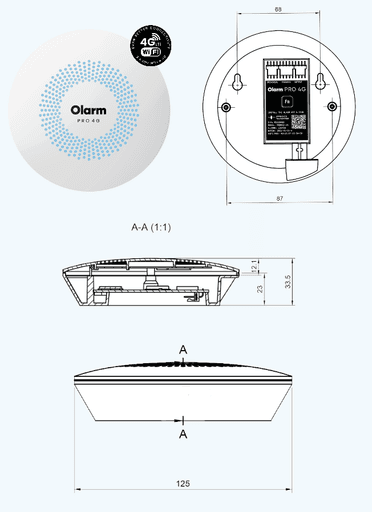
Olarm PRO and JVA Z Range Installation
Z11
Z13
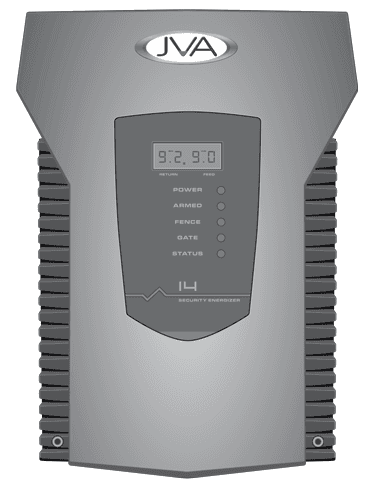
Z14
Z18
Z25
Z28
Z11
Z13
Z14
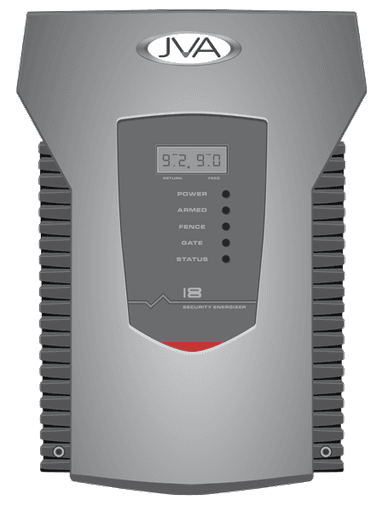
Z18
Z25
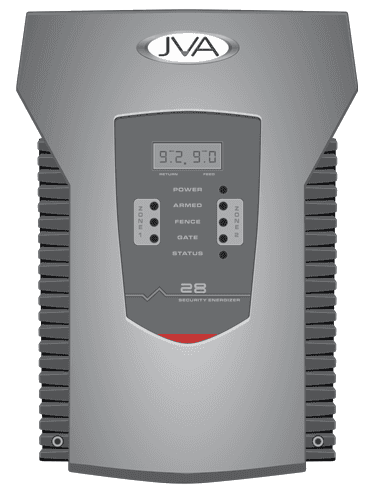
Z28
Z Range Single Zone
Z11
Z13
Z14
Z18


Z Range dual zone
Z25
Z28


⚠️ Important
You will be prompted to enter your User PIN in the Olarm APP. These are by default 1234. Please contact the JVA installer should this not work.
Please keep in mind that for the Olarm PRO to detect the energizer configuration correctly, it's necessary to disarm all zones. Failure to do so will prevent the Olarm PRO from controlling the energizer.
🔓 If you have have groups of energizers ensure each one is disarmed.
⚠️ Important
Avoid mounting the Olarm PRO near other radio equipment to prevent interference that could affect device performance.
Please note that the Olarm PRO is not weather-resistant. If you plan to install it outdoors, ensure it's in a suitable non-metal enclosure.
⚠️ Important
The Olarm PRO needs an active GSM connection to set-up WiFi.
The Olarm PRO only supports 2.4GHz WiFi.
See more: How to set up a WiFi connection
⚠️ Important
When making changes to the JVA energizer configuration, remember to reboot the Olarm PRO and disarm all energizers as explained in step 2.
Things to note 👀
The Olarm PRO functions as a keypad when installed on a JVA energizer and will automatically receive status updates from connected energizers.
If any energizers are missing, please check the cable connections and ensure that the JVA energizers are configured correctly.
If you don't see any Energizer cards on the home screen or zone/gate cards on the zone screen, please ensure that all energizer zones are disarmed, including zones on all daisy-chained energizers.